
Sculpting and Casting a Resin Statue
Using Sculpey, Armature Wire, Acid‑Etched Brass and Rubber Molds
Chapter 9: Finishing and Surface Prep
From the previous chapter:
Hair. I love how the Japanese sculptors attack the problem. You cannot sculpt every strand; you can try! But you will be frustrated.
Time to prime. I am lucky that I believe a little roughness around the edges will be okay for the hair pieces. I don’t have to aim for a mirror finish.
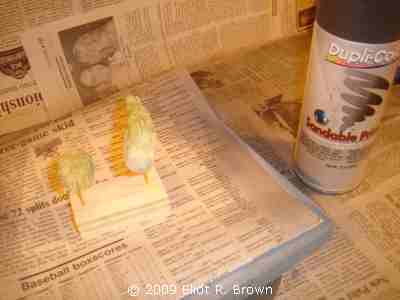
Here is the interior of my spray booth. I again, made a little stand to hold up the hair pieces. What is not obvious is that they are sitting on a cheap plastic Lazy Suzan which makes spray booth life easier.
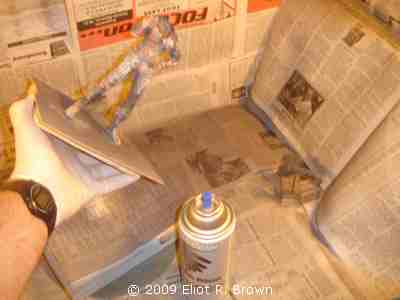
While we are here, it is showtime! Now for the body too. Since we have only one big sink in the kitchen, this is where one must do the wet part of wet-or-dry sand-papering. The auto body industry once again provides a world of ultra fine grit sandpaper of the wet-or-dry variety. Again, it is much more reasonable than what is sold for modelers. They have a world of super-fine grit sanding pads which look quite promising. In the meantime, I am using 400, 800 and slivers of 1,000 grit sandpaper. I have a range of flat things to help brace the paper against. Acrylic slabs, old plastic things. When you need to sand something oddly shaped, your finger is good. If it’s too big, you need something just like it but smaller!
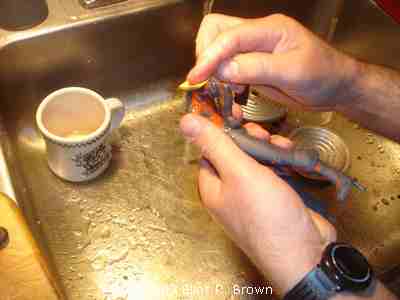
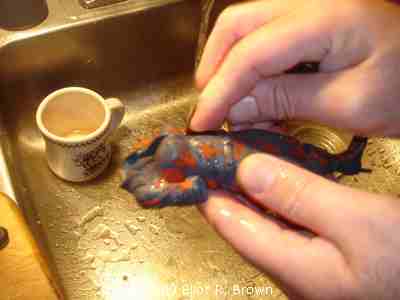
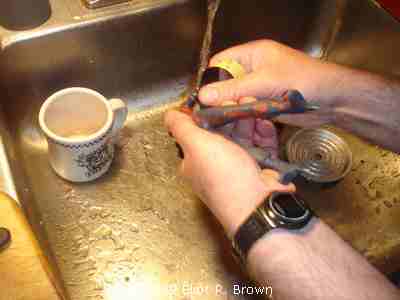
Working up through the grades is what takes time. Wrinkled fingers can be a result! Each time it looks good, you dry it off, put on some more primer and inspect under a bright light. Add putty then up to the sink. When that grade of sandpaper gets things nice and smooth, move up to the finer. And so on.
This process is done for each part.
> > Next — Chapter 10: Rubber Mold Making, Casting and Production
